Experience the Ultimate Upgrade
Our New Wet Sandblasting Kit with New Unbeatable Features! Upgrade your pressure!
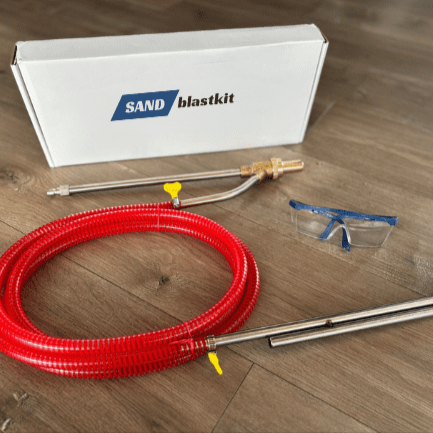
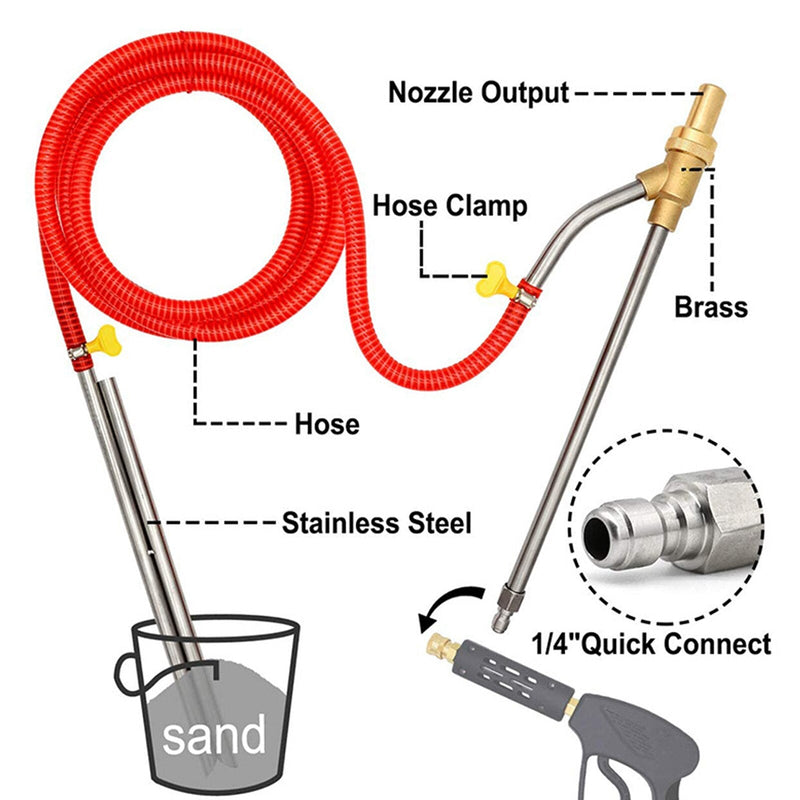
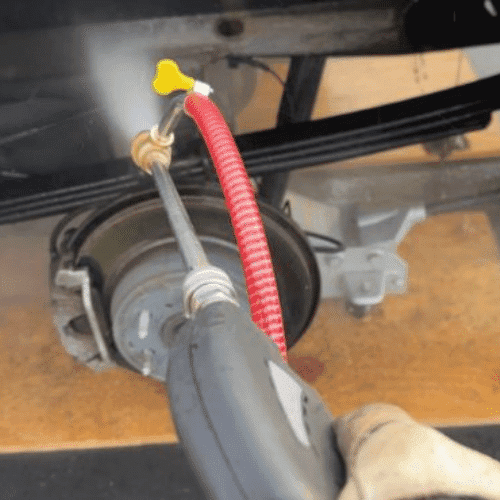
Upgrade your pressure washer into a powerful restoration tool with our NEW Wet Sandblasting Kit! Our kit is made with top-of-the-line materials, including a brass nozzle and steel pick, a transparent steel wire hose, and maximum pressure of 5000 PSI.

WHAT ARE ITS CAPABILITIES?
- Firstly, our kit is incredibly versatile. It can be used on a wide range of surfaces, including metal, concrete, brick, and wood. This means that you can use it for multiple projects around your home or business, saving you time and money.
- Secondly, our kit is easy to use. The transparent steel wire hose allows you to see the sand and water flowing through the system, making it easier to control and adjust as needed. Plus, the stable performance and high reliability of our kit ensures that you can complete your project efficiently and effectively
- Finally, our kit is built to last. Its wear-resistant and corrosion-resistant materials ensure that it will withstand even the toughest projects for years to come. You won't have to worry about replacing your kit after just a few uses.
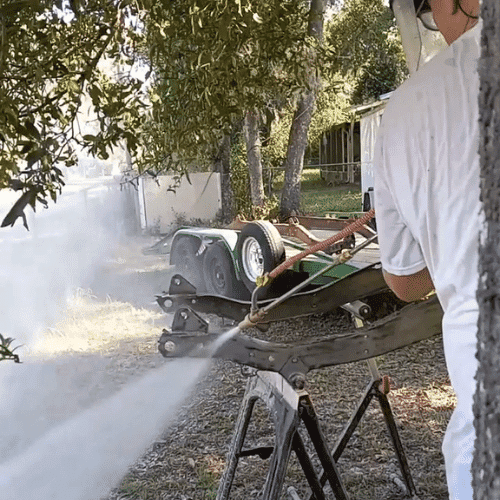
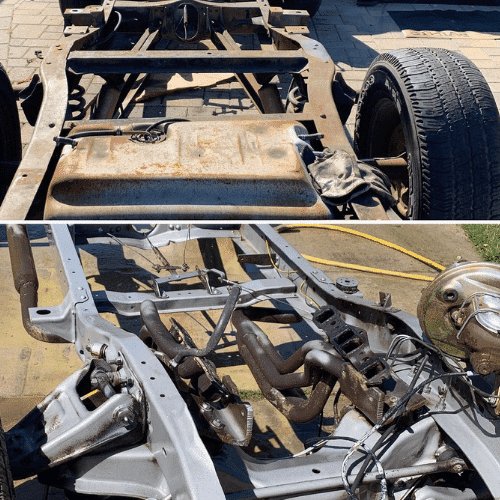
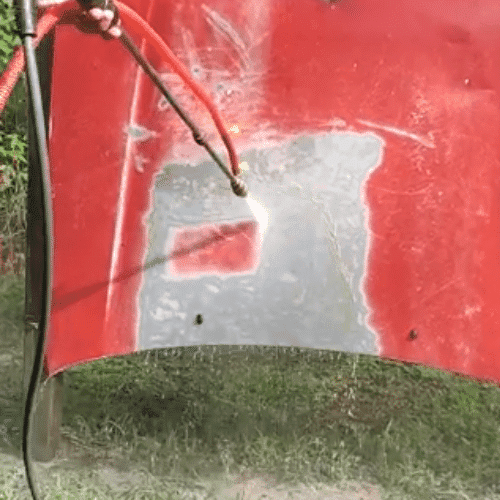
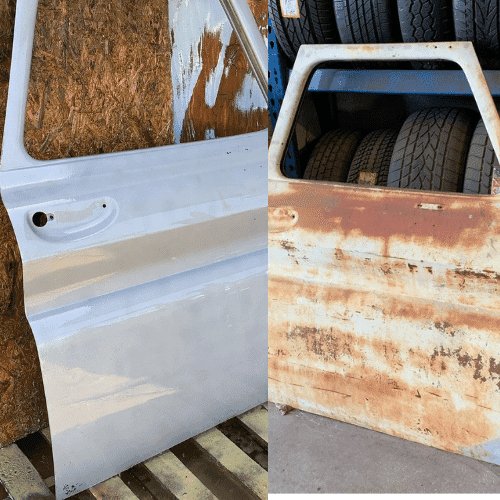
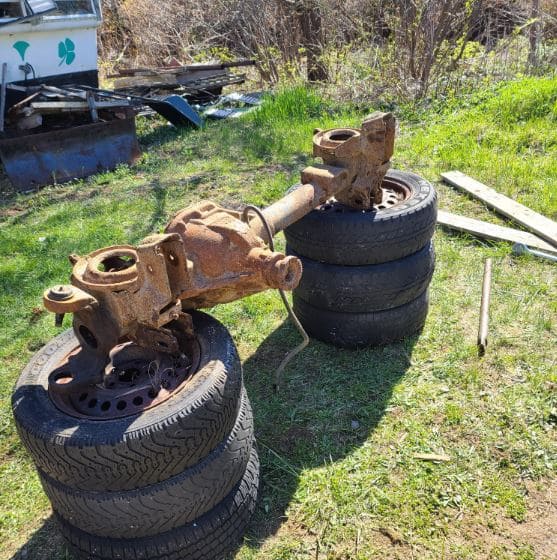
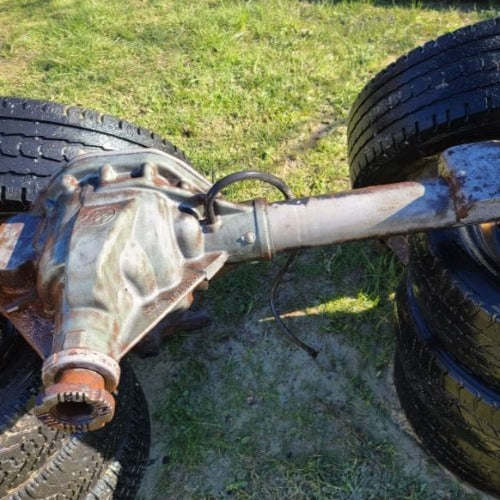
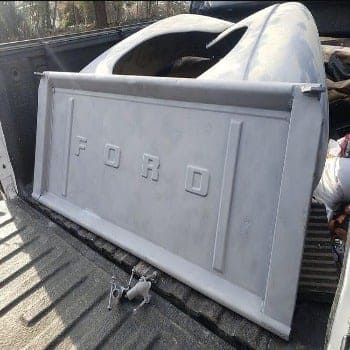
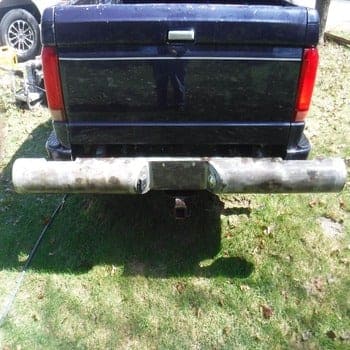
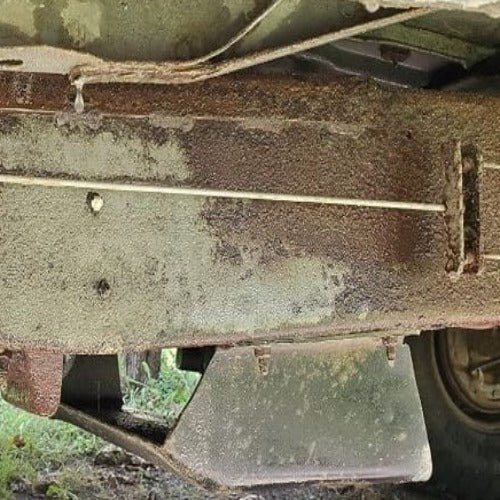
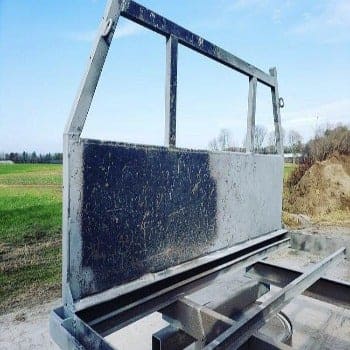
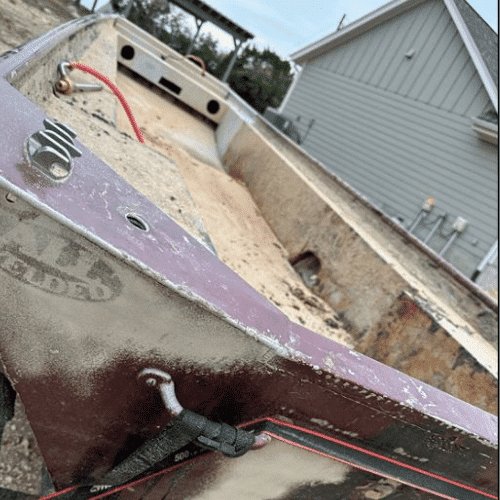
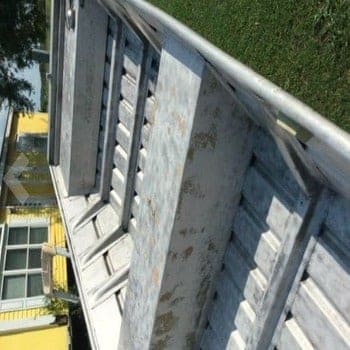
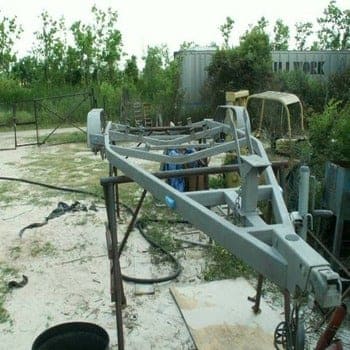
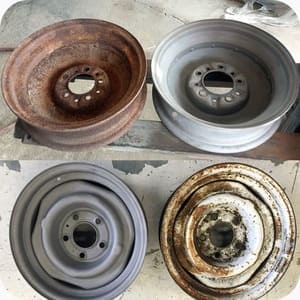
You can now take on any project with ease. Strip away rust, paint, varnish, and corrosion from any surface - from trailers to farm equipment to boats - and restore them to their former glory. Don't settle for less. Upgrade to the best and experience the ultimate restoratio n with our new Wet Sandblasting Kit
WHY UPGRADE?
- Maximum pressure of 5000 PSI for powerful restoration capabilities
- Versatile design for use on a wide range of surfaces
- Environmentally friendly and non-toxic, using water and sand
- Time-saving and efficient, allowing you to complete your project quickly and effectively
- Cost-effective, saving you money on costly restoration services or equipment rentals
- Durable and wear-resistant, designed to last for years to come
- Easy to use, even for beginners, with a transparent hose for easy control and adjustment
Don't settle for a less powerful, less versatile, and less durable sandblasting kit. Upgrade to our Wet Sandblasting Kit today and experience the ultimate restoration power for yourself. Order now and take advantage of our limited-time offer.
How to Use the Product 
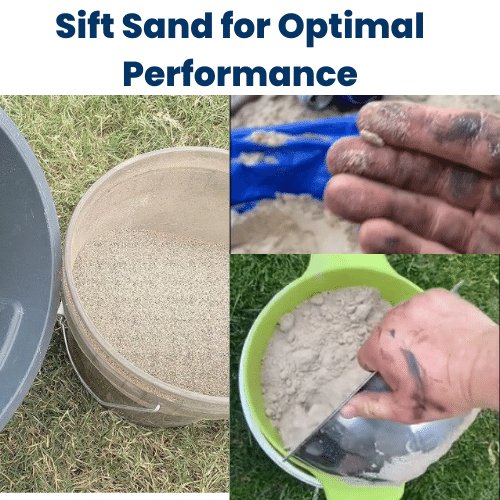
Step 1: Prepare the Sandblasting Media
Purchase play sand or glass media suitable for sandblasting.If using play sand, sift it through a sieve to remove larger particles that may cause blockages.
Step 2: Set Up the Equipment
Ensure your pressure washer meets the recommended PSI and GPM for optimal performance. (3000-6000 psi) Attach the sandblasting kit to your pressure washer wand.
Use hose clamps to secure the suction part of the wand on top, preventing water from seeping into the hose. Keep the sand or media dry by placing a cover over it or using a container with a lid.
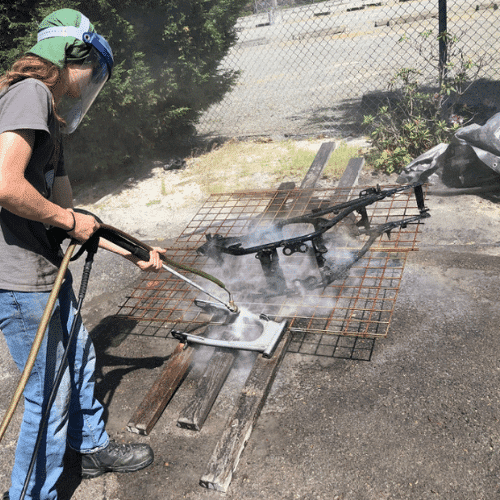
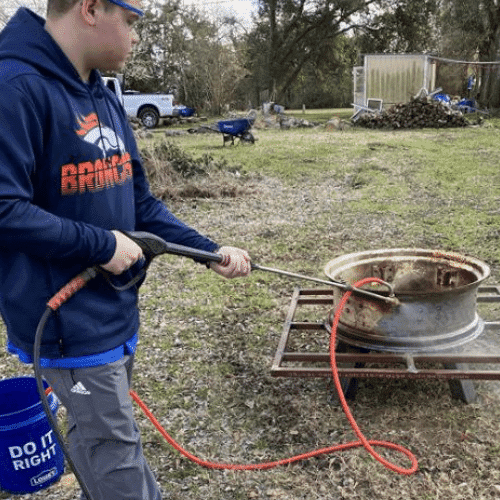
Step 3: Sandblasting Process
Position yourself upwind to avoid water blowing towards you. Maintain the sand or media level higher than the washer wand to prevent water from feeding back into the container. Start sandblasting the target surface, moving the wand back and forth evenly. Continue sandblasting until the desired removal is achieved.
Step 4: Maintenance and Troubleshooting
Monitor the pressure and flow of your pressure washer during use. Clean any material build-up at the connection point of the two wands if pressure loss occurs. If clogging happens, address it promptly by unclogging or replacing the media or replacing the nozzle.
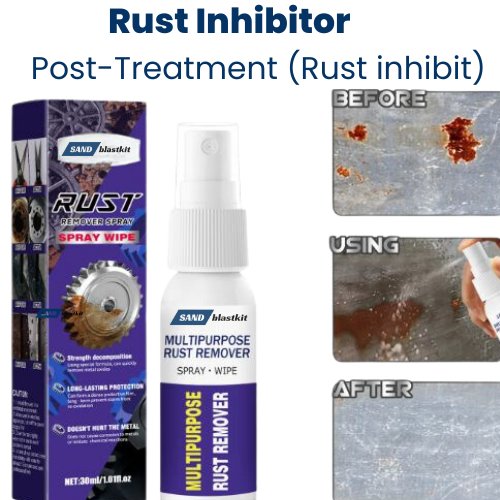
Step 5: Cleanup and Post-Treatment (Rust inhibit)
Dispose of used media properly, considering its type (play sand or other media).
Clean the sandblasted surface thoroughly to remove any residue. Apply an acid-based rust converter such as Ospho to the surface to convert any remaining rust into a black, paintable surface.
Let the rust converter sit overnight, then lightly wet it with the converter again and let it soak.
Wash the surface thoroughly with water and a scrub brush to remove any remaining residue.
Clean the surface with solvent to ensure it is completely free of debris. Apply an epoxy primer to seal the surface and prepare it for painting.
CLICK HERE FOR RUST INHIBITOR 👉 RUST INHIBITOR
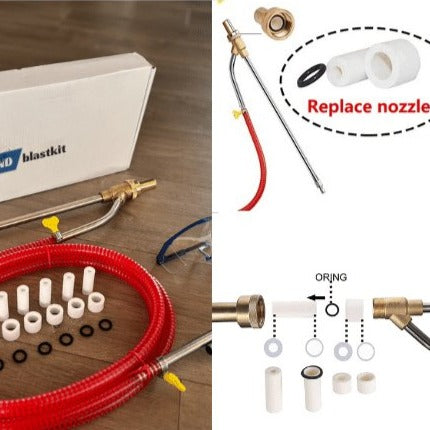
Ceramic Nozzles:
Replace the ceramic nozzle from your wet sandblasting kit after loss of pressure. Change the nozzle as soon as it is chipped away by the pressure of the water and sand medium. Worn-out nozzles cause pressure loss, slower abrasive particle speed, decreased productivity, and wasted sand. To install a new nozzle, unscrew the old one and tightly screw on the new ceramic nozzle.
Keep spare ceramic nozzles on hand for uninterrupted sandblasting.
CLICK HERE FOR NOZZLES 👉 NOZZLES (60%OFF)
Connectors
The Wet Sandblasting Kit offers a wide variety of connectors to ensure compatibility with your pressure washer. Here's what you need to know:
Check the specifications of your pressure washer to determine the type of connector required.
The Wet Sandblasting Kit provides multiple connector options to fit various pressure washer models. Choose the appropriate connector from the kit that matches your pressure washer's connection type. Simply attach the connector securely to your pressure washer wand to ensure a proper fit. With the right connector, you can easily connect the Wet Sandblasting Kit to your pressure washer and start sandblasting. Please refer to the compatibility chart or consult the product manual for further guidance on selecting the correct connector for your specific pressure washer model.
CLICK HERE FOR CONNECTOR 👉 CONNECTOR